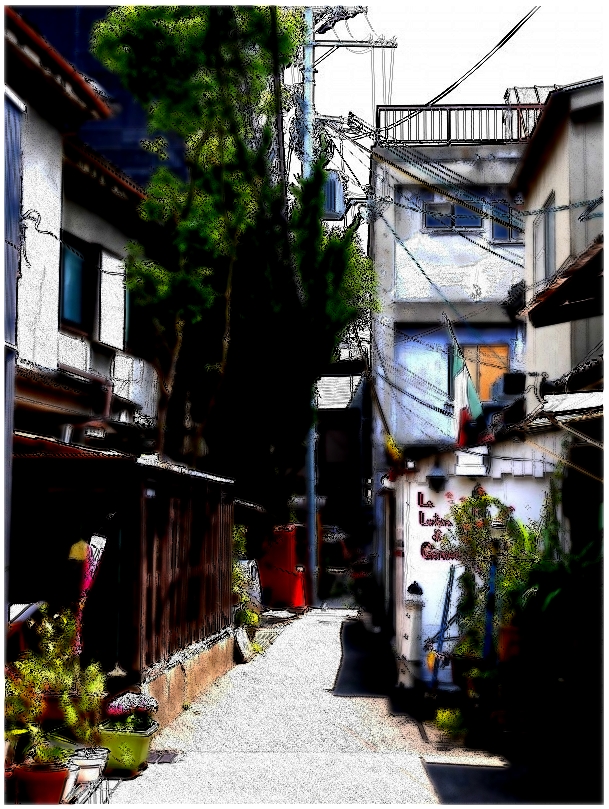
写真を鉛筆画、色鉛筆画、水彩画風にエフェクトをかけるCSSが見つかったので、試してみた。そのCSSは以下。
下の「coliss」の紹介記事で知った。
【オリジナル写真】

【鉛筆画】

<div class="pencil-effect">
	<img src="img/xxx.jpg">
</div>

<style>
.pencil-effect {
	background-image: url(img/xxx.jpg);
	background-size: cover;
	background-position: center;
	width: 600px;	/* jpgに合わせる。 */
	max-width: 100%; /* スマホ用 */
}
@supports (filter: invert(1)) and (background-blend-mode: difference) {
	.pencil-effect {
		background-image: url(img/xxx.jpg), url(img/xxx.jpg);
		background-blend-mode: difference;
		background-position: calc(50% - 1px) calc(50% - 1px), calc(50% + 1px) calc(50% + 1px);
		filter: brightness(2) invert(1) grayscale(1);
		box-shadow: inset 0 0 0 1px black;
	}
}
[class$=-effect] img {
	vertical-align: top !important;
	margin: 0 !important;
	opacity: 0 !important;
}
</style>
【色鉛筆画】

<div class="colored-pencil-effect">
	<img src="img/xxx.jpg">
</div>

<style>
.colored-pencil-effect {
	background-image: url(img/xxx.jpg);
	background-size: cover;
	background-position: center;
	width: 600px;	/* jpgに合わせる。 */
	max-width: 100%; /* スマホ用 */
}
@supports (filter: invert(1)) and (mix-blend-mode: color) {
	.colored-pencil-effect {
		position: relative;
	}
	.colored-pencil-effect:before, .colored-pencil-effect:after {
		display: block;
		content: "";
		position: absolute;
		top: 0;
		left: 0;
		right: 0;
		bottom: 0;
		background-size: cover;
		box-shadow: inset 0 0 0 1px black;
	}
	.colored-pencil-effect:before {
		background-image: url(img/xxx.jpg), url(img/xxx.jpg);
		background-blend-mode: difference;
		background-position: calc(50% - 1px) calc(50% - 1px), calc(50% + 1px) calc(50% + 1px);
		filter: brightness(2) invert(1) grayscale(1);
	}
	.colored-pencil-effect:after {
		background: inherit;
		mix-blend-mode: color;
	}
}
</style>
【水彩画】

<div class="watercolor-effect">
	<img src="img/xxx.jpg">
</div>

<style>
.watercolor-effect {
	background-image: url(img/xxx.jpg);
	background-size: cover;
	background-position: center;
	width: 600px;	/* jpgに合わせる。 */
	max-width: 100%; /* スマホ用 */
}
@supports (filter: blur(2px)) and (mix-blend-mode: multiply) {
	.watercolor-effect {
		position: relative;
		overflow: hidden;
	}
	.watercolor-effect:before, .watercolor-effect:after {
		display: block;
		content: "";
		position: absolute;
		top: 0;
		left: 0;
		right: 0;
		bottom: 0;
		background-size: cover;
	}
	.watercolor-effect:before {
		background-image: url(img/xxx.jpg), url(img/xxx.jpg);
		background-blend-mode: difference;
		background-position: calc(50% - 1px) calc(50% - 1px), calc(50% + 1px) calc(50% + 1px);
		filter: brightness(2) invert(1) grayscale(1);
		box-shadow: inset 0 0 0 1px black;
	}
	.watercolor-effect:after {
		background-image: url(img/xxx.jpg);
		background-position: center;
		mix-blend-mode: multiply;
		filter: brightness(1.3) blur(2px) contrast(2);
	}
}
</style>
★ 実際に試したHTMLとCSSのサンプルは以下