HTMLで画像をポップアップする場合、<a>タグや<div>タグで<img>タグを囲んで行うのが一般的。
<a>タグ、<div>タグを使わずに、<img>タグだけで画像をポップアップする方法を探した。以下に目的のものがあった。
≪CSS≫
<style>
#modal-container {
	display: none;
	position: fixed;
	background: rgba(0, 0, 0, 0.6);
	top: 0;
	bottom: 0;
	left: 0;
	right: 0;
	z-index: 99;
}
#modal-container > div {
	display: flex;
	height: 100vh;
	justify-content: center;
	align-items: center;
}
#modal-container > div > img {
	max-width: calc(100vw - 30px);
	max-height: calc(100vh - 30px);
}
img.popup {
	cursor: pointer;
	width: 300px;
}
</style>
≪HTMLサンプル≫
<img class="popup" src="img/photo1.jpg">
<img class="popup" src="img/photo2.jpg">
<div id="modal-container">
	<div><img src=""></div>
</div>
≪JavaScript≫
※ jQueryを使っている。
<script>
const modal = $('#modal-container');
const img = modal.find('img');
$('img.popup').each(function(index) {
	$(this).click(function() {
		img.attr('src', $(this).attr('src'));
		modal.show();
	})
});
modal.click(function() {
	$(this).hide();
});
</script>
≪テスト用ページ≫
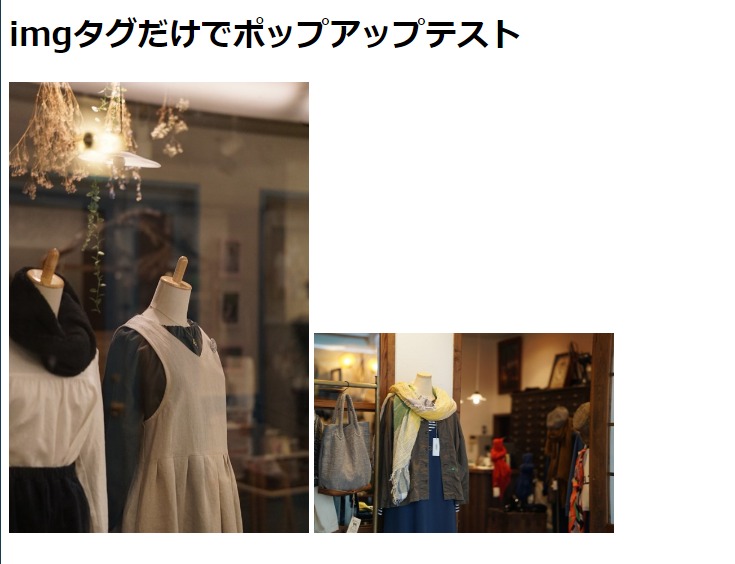
ポップアップした画像。
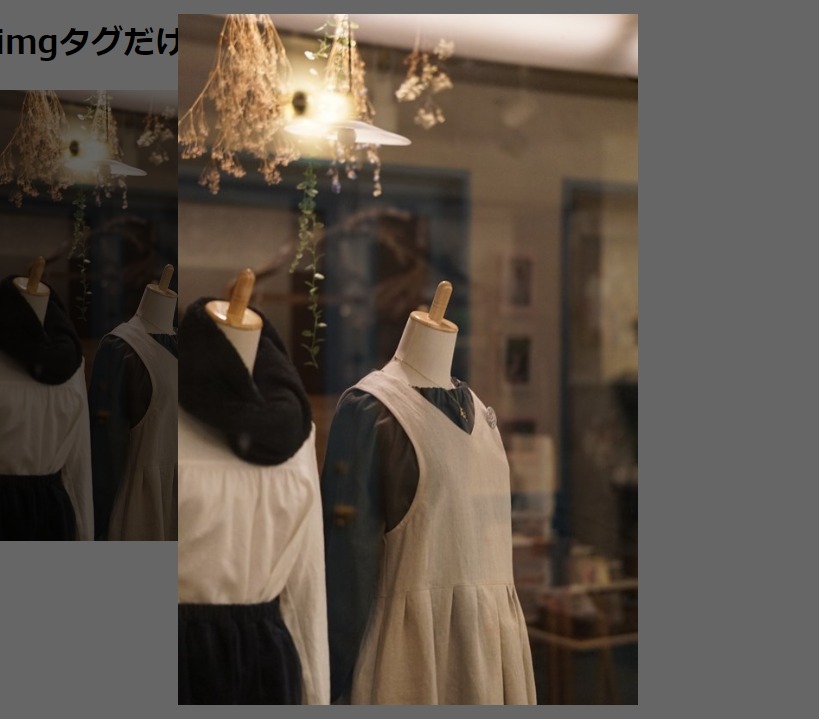
更に、ポップアップ画像に白枠と角丸を付けた。
≪CSS 追加≫
#modal-container > div > img {
	max-width: calc(100vw - 30px);
	max-height: calc(100vh - 30px);
	padding: 12px;
	background-color: #fff;
	box-shadow: 0 3px 18px -4px rgba(0, 0, 0, 0.8);
	border-radius: 10px;
}

↓↓↓ この方法を、WordPressで使ってみた。
↓↓↓ この方法を、「My 野鳥図鑑」でも使ってみた。